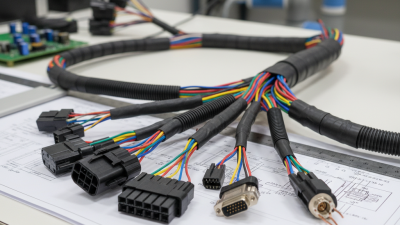
How to Choose the Right Cable Harness?

Choosing the right cable harness begins with its real operating conditions, not a parts list. Will it cross a vibrating engine bay, sit beside a heat source, or flex repeatedly near a moving joint? Each detail changes the choice of conductor, insulation, shielding, connectors, and strain relief. A harness that fits neatly on a drawing can still fail where a clip presses against a sharp edge.

The scale of changing vehicle design matters. The International Energy Agency’s Global EV Outlook 2024 reports that electric-car sales exceeded 14 million in 2023, accounting for about 18% of global car sales. Electrification can bring higher-voltage circuits, tighter packaging, and new thermal demands. That context makes careful specification more important, though it does not mean every application needs a more complex harness. Sometimes simpler is safer.

A useful engineering rule is: “Design for the route, not just the schematic.” Treat that as a practical design principle, not a verified quotation from a named expert; a credible named quotation should be checked against its original source. For workmanship expectations, IPC/WHMA-A-620 provides an established industry reference for cable and wire harness assemblies. Still, standards cannot replace application-specific testing. Check bend radius, current load, temperature range, connector retention, and abrasion risk. Then inspect the actual installation, including the awkward corner behind the panel. Small oversight? It happens. The right cable harness balances performance, durability, serviceability, and cost—and documents the trade-offs clearly.
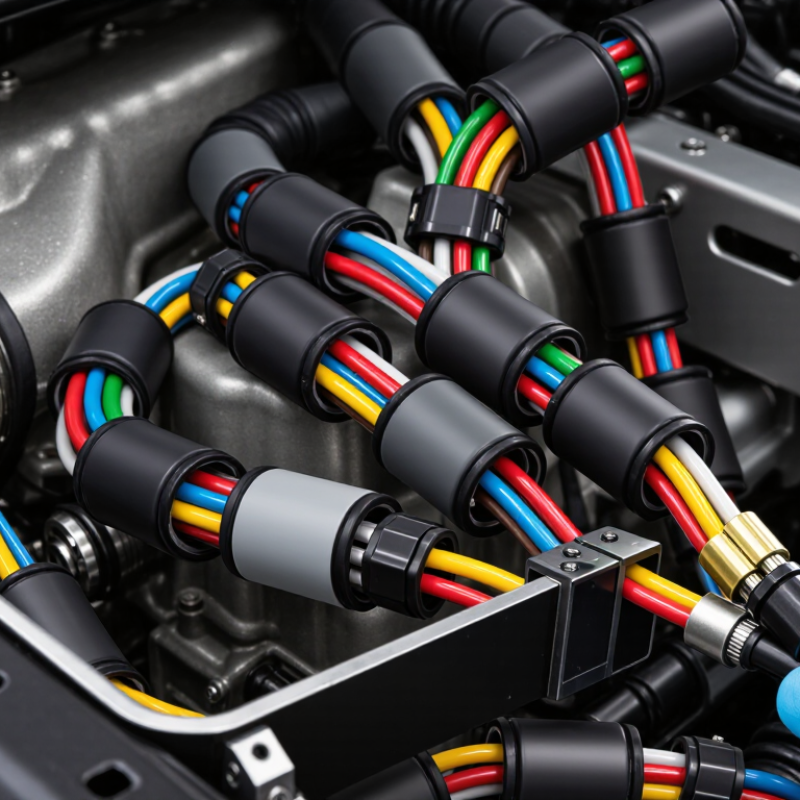
How to Choose the Right Cable Harness?

Define the Cable Harness Application and Operating Requirements

Before choosing a cable harness, define what it must connect and where it will operate. List each device, connector type, signal, and power requirement. A harness inside a quiet control cabinet faces different demands than one routed beside a moving machine arm. Note the available path, bend points, and expected movement. Measure the route, but leave room for service loops and installation access.

Record operating conditions in practical terms. Include temperature range, moisture, dust, vibration, and exposure to oils or cleaning fluids. Specify how often the harness moves and whether it will rub against edges. These details guide choices such as wire insulation, shielding, strain relief, and protective sleeving. Also document voltage, current, signal sensitivity, and acceptable voltage drop. Estimates can be wrong; verify them against equipment data and, where possible, measured operating loads.

Tips: Photograph the route and mark hot spots, moving joints, and tight bends. Share these notes with the harness designer. A small omission can matter later. Recheck assumptions with the installer, because a neat drawing may not show the awkward reach behind a panel.

Choose Cable Harness Insulation for the Operating Temperature

These representative continuous operating-temperature ranges help narrow insulation choices during application planning. Ratings vary by material grade and construction; confirm the cable datasheet and account for flexing, chemicals, and other environmental conditions.

Assess Electrical, Mechanical, and Environmental Conditions

How to Choose the Right Cable Harness?
Assess Electrical, Mechanical, and Environmental Conditions

Choosing a cable harness starts with the electrical load. Check operating voltage, continuous current, and brief inrush peaks. Then consider conductor size, voltage drop, insulation rating, and shielding needs. A motor near a sensor, for example, may create interference that affects signal quality. Heat matters. Confirm that the expected load stays within component ratings, including when several circuits run together.

Tips: Measure the actual route, not just the distance between connectors. Note tight bends, moving parts, sharp edges, and likely service access. Leave room. A harness that fits on paper may be difficult to install once clips and panels are in place.

Mechanical and environmental conditions shape long-term reliability. Repeated vibration can loosen connections, while abrasion can wear through insulation at a panel opening. Check the harness’s minimum bend radius and use suitable strain relief where cables move. For damp, dusty, hot, or chemically exposed areas, verify connector sealing and material compatibility against the real conditions. I have seen a tidy layout become hard to maintain because one connector was hidden behind a bracket. That detail is easy to miss. Recheck the design with installers, and test a sample in representative conditions before committing to production.

How to Choose the Right Cable Harness? — Assess Electrical, Mechanical, and Environmental Conditions

Assessment dimension What to check Practical selection guidance Example condition
Operating voltage Nominal voltage, maximum voltage, transients, and applicable safety requirements. Select wire, insulation, connectors, and spacing rated for the highest expected voltage. Consider switching or surge events where relevant. A 24 V DC control system should use components rated for its maximum system voltage and expected transient exposure.
Current and conductor size Continuous and peak current, duty cycle, ambient temperature, and the number of loaded conductors bundled together. Size conductors using applicable ampacity data, then account for temperature rise, bundling, installation method, and terminal limits. Do not choose wire size from current alone. A conductor carrying a continuous load inside a tightly bundled harness may need to be larger than one carrying the same current in free air.
Voltage drop One-way cable length, conductor resistance, load current, and the voltage the device needs to operate. Calculate voltage drop for the complete circuit, including the return path. A 3% drop target for a branch circuit is a common design guideline, not a universal requirement. Long runs to low-voltage equipment may require a larger conductor to maintain acceptable voltage at the load.
Signal integrity and interference Signal type, switching noise, nearby power cables, data rate, and grounding arrangement. Use twisted pairs for suitable differential signals. Consider shielding where the system’s noise assessment requires it, and follow the equipment design for shield termination. Low-level sensor wiring routed beside a motor drive may need separation, paired conductors, or an appropriately grounded shield.
Flexing and bend radius Whether the harness is stationary or moves repeatedly; bend location, cycle count, vibration, and abrasion. Choose conductors and jackets intended for the movement profile. Observe the cable maker’s minimum bend radius; repeated flexing generally needs a larger radius than a fixed installation. A harness in a moving machine axis needs flexible cable and strain relief, while a fixed cabinet run may use a less flexible construction.
Mechanical loads and routing Pulling forces, vibration, sharp edges, compression, support spacing, and connector strain. Provide clips, grommets, protective conduit, and strain relief as needed. Route away from pinch points and do not use electrical conductors as structural supports. A harness passing through a metal panel should be protected at the opening with a suitable grommet or cable gland.
Temperature and chemicals Minimum and maximum ambient temperatures, nearby heat sources, oils, fuels, cleaners, and other fluids. Check the temperature rating of the complete assembly, including wire insulation, seals, sleeving, and connectors. Verify chemical compatibility for the actual exposure and duration. A harness near an engine or exposed to oil needs materials rated for the local heat and verified for oil contact.
Water, dust, and outdoor exposure Rain, washdown, dust, immersion risk, UV exposure, and the enclosure or connector interface. Choose an ingress-protection level suited to the installation and ensure the assembled interface maintains that protection. IP ratings describe defined test conditions, not every outdoor exposure. An outdoor harness exposed to sunlight needs UV-suitable materials; a washdown location may require appropriately sealed connectors and cable entries.
Connectors and serviceability Contact current and voltage ratings, wire-size range, mating cycles, sealing, keying, and maintenance access. Confirm that contacts match the conductor size and load, use compatible crimp tooling, and provide clear identification to reduce installation and service errors. A frequently serviced assembly benefits from keyed connectors and labels that distinguish similar branches.

Design note: The examples are general guidance, not universal ratings. Confirm conductor sizing, insulation, connector limits, protection, and test requirements against the applicable standards and the specific installation.

Select Suitable Wires, Connectors, Materials, and Routing

Choosing a cable harness starts with the job it must perform. Estimate current, voltage, temperature, and movement before selecting wire gauge. A wire that works on a bench may overheat inside a crowded enclosure. Check voltage drop over the full run, especially for long or high-current circuits. Leave a little margin.

Match insulation to the surroundings. PVC may suit a stable indoor assembly, while silicone can remain flexible in warmer conditions. Confirm the actual temperature and chemical exposure; material names alone do not tell the whole story.

For connectors, check pin capacity, keying, contact retention, and sealing. A connector should mate firmly without forcing it. Small details matter. Add strain relief where wires enter a housing, since repeated pulling can loosen contacts even when the crimp looks sound.

Plan the route before bundling. Keep wires clear of sharp edges, hot surfaces, and moving parts. Use clips or sleeves where vibration could cause rubbing, and respect the wire maker’s minimum bend radius. Separate sensitive signal wires from noisy power runs when practical.

Leave enough service length for inspection, but avoid loose loops that can snag. A tidy drawing can still miss a real-world obstacle; a trial fit often reveals one. Review the route with maintenance in mind, not just appearance.

Verify Safety Standards, Manufacturing Needs, and Test Requirements

A cable harness should be specified for its real operating environment, not just its connector count.

IPC/WHMA-A-620 sets workmanship criteria for crimping, soldering, splices, and harness assembly; it does not replace product-specific safety approvals. Check voltage, temperature, abrasion, fluid exposure, and fire requirements before releasing drawings. A sharp edge beside a moving hinge can damage an otherwise well-made harness. Small detail, big consequence.

Ask suppliers for material traceability, crimp-height limits, pull-force records, and documented change control. Inspect first articles, then review calibration logs and defect trends during production. Define 100% continuity and short-circuit testing; add insulation-resistance, hipot, or environmental tests when risk assessment calls for them.

The IEA’s Global EV Outlook 2024 reports nearly 14 million electric-car sales in 2023, about 18% of global car sales. That growth makes voltage, heat, and vibration validation especially relevant for vehicle harnesses.

Test the assembled route, not only loose leads: bends, clips, and connector locks can alter results. Worth checking. I would revisit borderline limits with the engineering team; a passing test alone cannot promise a long service life.

Compare Designs and Confirm the Final Cable Harness Specification

Choosing the right cable harness starts with comparing complete designs, not just wire prices. A drawing may show two routes that look identical, yet one bends tightly behind a panel. Compare wire gauge, insulation, connector type, branch points, and overall length. Then check how each design handles vibration, heat, moisture, and repeated movement. Small details matter.

Keep it practical.

For example, a harness near a warm motor may need insulation rated for higher temperatures, while a moving door assembly needs flexible wire and secure strain relief. Shielding can reduce electrical interference, but it adds cost and may make routing harder. We sometimes find that a technically neat design is awkward to install. That deserves another look.

Before approving the final specification, confirm operating voltage, current, pin assignments, connector keying, labels, and routing dimensions. Ask for a sample or first article, then inspect fit and measure continuity before production. Test the harness in its actual installation when possible; a bench check alone may miss tight clearances or connector access problems. Record approved materials, tolerances, test criteria, and any unresolved assumptions in the specification. If a dimension is still uncertain, mark it for verification rather than treating a guess as final.